
Using AI Voice Data Entry on the iOS mobile app
This page explains how to use AI Voice Data Entry on the iOS mobile app.
Audio input is processed on your device, and no audio or spoken content is sent externally.
Settings for using AI Voice Data Entry
To use AI Voice Data Entry on the iOS mobile app, a Kintone system administrator must first enable Kintone AI and configure the settings for AI Voice Data Entry in the desktop view.
For details on how to configure the settings, refer to the following page.
Enabling Kintone AI and selecting features to use
Supported languages
AI Voice Data Entry recognizes Japanese and English. If you speak an unsupported language, your input may not be sorted into fields.
The recognized language depends on the Preferred Language setting for the Kintone app. You can set Preferred Language in the Settings app by tapping Apps, and then Kintone.
However, for the language specified in Preferred Language to be recognized, the following settings are also required.
- In the Settings app, tap General, Keyboard, and then Keyboards, and add the keyboard for the language.
- In the Settings app, tap General, Keyboard, and then Dictation Languages, and select the language.
Supported fields
The target fields for AI Voice Data Entry are as follows.
- Text
- Text area
- Number
- Radio button
- Check box
- Multi-choice
- Drop-down
- Date
- Time
- Date and time
- Link
- Lookup:
After values are sorted into the Lookup field by AI, you must tap the Lookup button.
You cannot use AI Voice Data Entry in apps without any supported fields.
Notes
Make sure to keep in mind the following when using AI Voice Data Entry.
- Notes during recording:
-
The maximum recording time is 5 minutes. When the limit is reached, recording stops automatically, and what you spoke up to that point is sorted into fields.
-
If you do any of the following, recording is interrupted and the screen returns to showing the Start voice entry button.
- Switch to another app
- Lock your device
- Answer an incoming call
What you spoke remains on the screen as a transcript, but it is not reflected in the fields. When you tap the button to start voice entry in this state, what you spoke is reset and recording starts from the beginning.
-
If you decline an incoming call or the caller hangs up while recording, what you spoke up to that point is sorted into fields.
-
- In apps with customizations that rewrite field values, content sorted by AI Voice Data Entry may be overwritten by those customizations.
Adding a record
To add a new record using AI Voice Data Entry, follow these steps:
-
Open the mobile app for iOS.
-
On the "View" screen, tap Add.

-
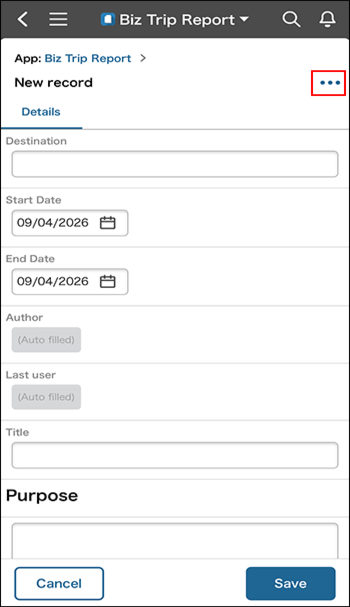
On the New record screen, tap the Open the action menu for this record button (the three-dot icon) at the top right.
-
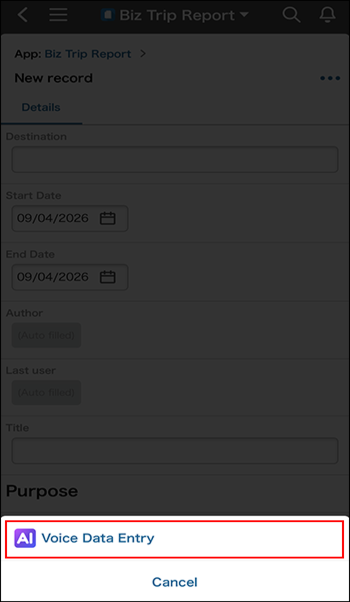
Tap Voice Data Entry.
-
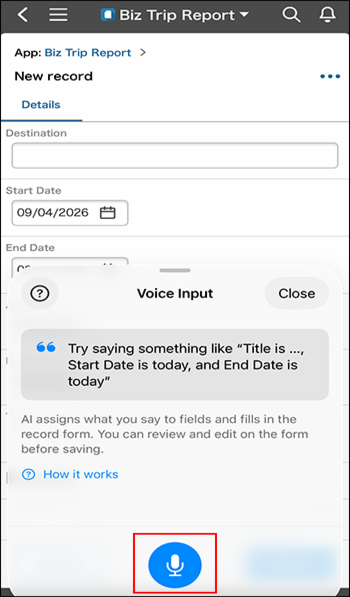
Tap the Start voice entry button (the microphone icon).
-
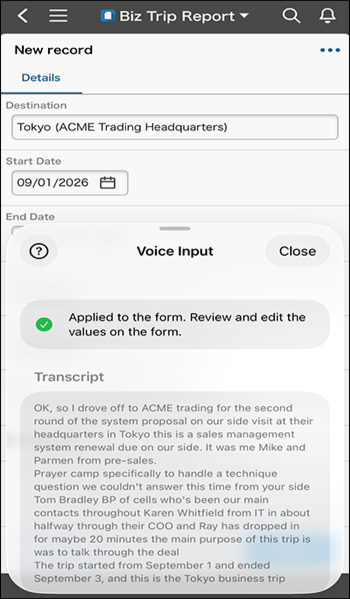
Speak freely about what you want to record, without worrying about the order or wording. When you finish speaking, tap the Stop recording button.
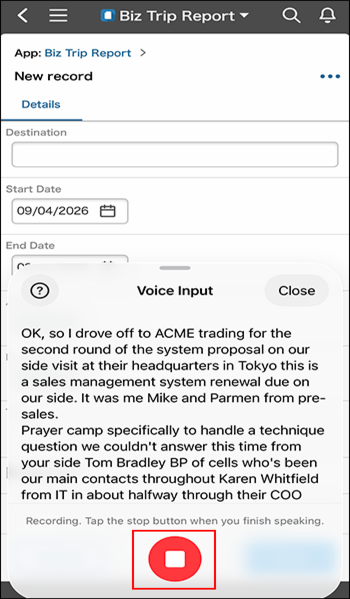
AI sorts what you spoke into fields.
-
Tap fields to edit if necessary.
-
Tap Close to exit the Voice entry screen.
-
Tap Save.
The record is saved, and the record details screen appears.
Editing a record
You can also use AI Voice Data Entry when editing an existing record.
-
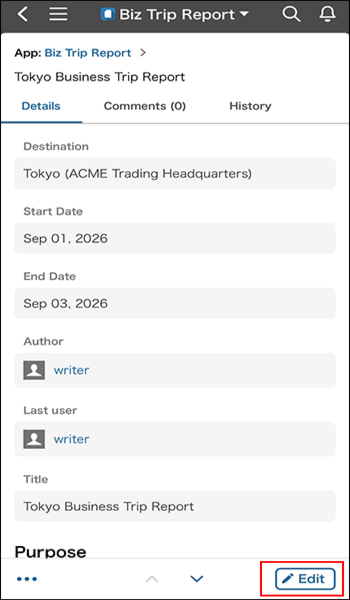
On the record details screen, tap Edit.
-
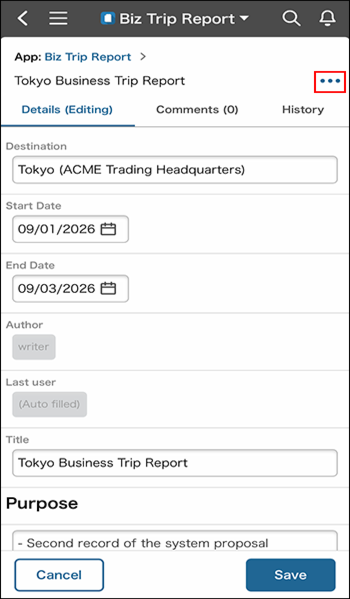
On the Edit record screen, tap the Open the action menu for this record button (the three-dot icon) at the top right.
-
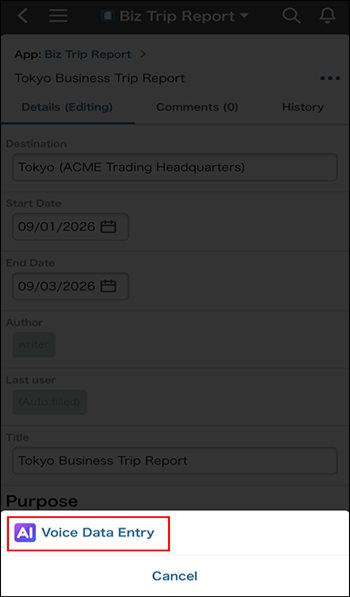
Tap Voice Data Entry.
-
Tap the Start voice entry button (the microphone icon).
-
Speak what you want to edit. When you finish speaking, tap the Stop recording button.
AI sorts what you spoke into fields. -
Tap fields to edit if necessary.
-
Tap Close to exit the Voice entry screen.
-
Tap Save.
The record is saved, and the record details screen appears.